A seedling can be on time and still need something different from yesterday. A covered tray needs watching for the first green shoots; an established plant needs room for roots; a plant that fills its pot may still face cold soil outdoors. Start with one manageable tomato batch and let those changes organize the work.
Choose the outdoor date first.
Find local guidance for the crop’s transplanting season, then count backward using its seed packet. Frost dates describe past weather; they do not promise a frost-free night. Tomatoes, peppers, squash and cucumbers need warmer conditions than frost-tolerant crops such as broccoli. A hardiness zone alone cannot give you this calendar. 4
For example, Minnesota Extension recommends sowing tomatoes 5–6 weeks before planting outdoors. That clock starts at sowing, not at germination. Earlier starts can become difficult to manage without improving the harvest. Outside Minnesota, check local guidance and the variety before adopting that interval. 5
Save indoor space for crops that benefit from it. Beans, peas and carrots are usually sown directly; transplant-sensitive cucumbers and squash can be started in individual containers when an indoor start suits the season. These are useful defaults, not prohibitions. 6
ONE TRAY / A WORKED EXAMPLE
A June 1 target gives an April 20–27 sowing window.
Suppose a Minnesota gardener has chosen June 1, 2027 as a provisional outdoor date after checking local tomato guidance. This is an example date, not a recommendation for every Minnesota garden.
Johnny’s tomato growing instructions say to sow about 5–6 weeks before transplanting, matching Minnesota’s interval. Six weeks is 42 days; five is 35. Count both backward from June 1: the earlier end is April 20, the later end April 27. 7
Reserving the last two weeks for outdoor acclimation puts a reminder on May 18. Those weeks sit within the sowing-to-transplant interval; adding them again would start the tray unnecessarily early. On May 18, the job is to check the plants and suitable outdoor conditions, not move a struggling tray outside on schedule. 2
Read the wording on your own packet before copying these numbers. “Days to maturity” is a different clock: Johnny’s tomato maturity figures begin at transplanting and describe the crop’s later progress toward harvest. They are not the indoor growing interval. 7
READ THE PLANT, THEN CHANGE THE ROUTINE
One tray. Six changes of pace.
These are stages to recognize, not equal stretches of time. The drawings are simplified tomato diagrams; the text supplies the care cues.
Moist mix, labeled tray
Prepare clean containers and follow the packet depth. Watch moisture and warmth.
Read the stage →Seed leaves unfold
Reassess the cover and bottom heat; put emerged seedlings into bright light.
Read the stage →New leaves in the center
Distinguish true leaves from the first seed leaves before thinning or feeding.
Read the stage →A supported rootball
Pot on when cells are outgrown. Lift from beneath; never grip the stem.
Read the stage →A sheltered first outing
Build outdoor exposure gradually over one to two weeks in suitable weather.
Read the stage →Plant and weather agree
For tomatoes, wait for frost danger to pass and soil to warm.
Read the stage →Stage guidance: Maine, Minnesota, tomato guidance; leaf distinction: Maryland, UC tomato photograph. Brown below the stem represents the rootball; pale lines indicate roots, not a target root density.
Set up for the plants they will become.
Before filling the tray, lay out the larger pots it may eventually need. This is the useful scale of the project: how many growing plants can you keep under good light, rather than how many seeds fit in a packet? For this example, label one small tray “Tomatoes,” with the variety and sowing date.
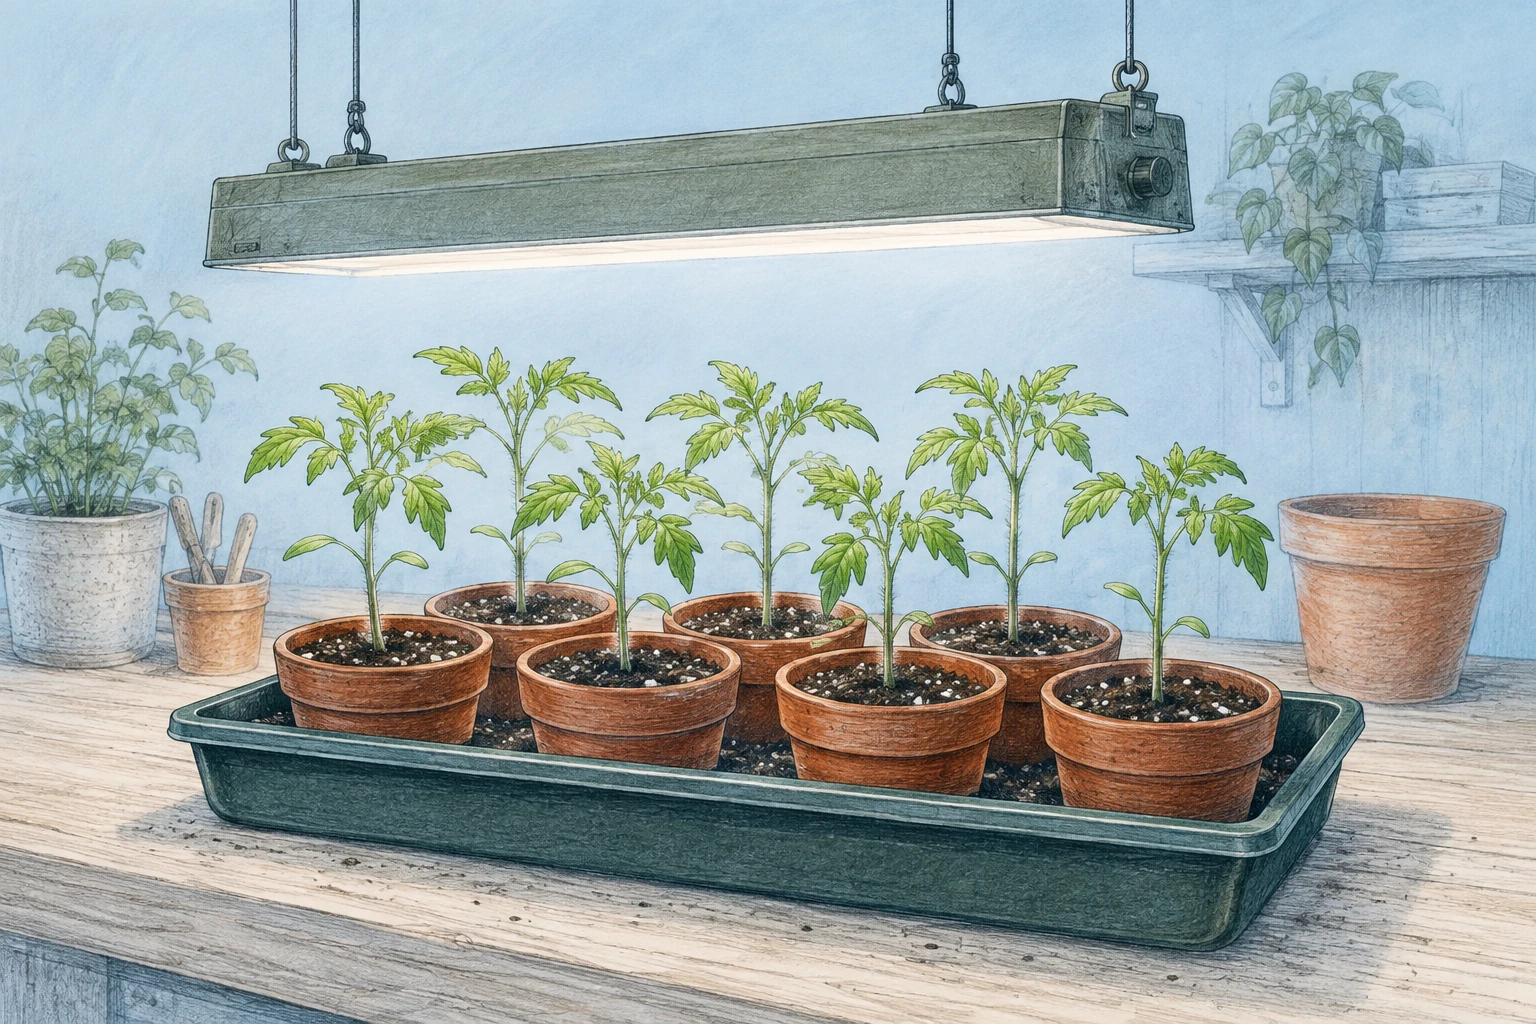
If seedlings lean toward the glass on thin, stretched stems, check the light first. Late-winter windows in the northeastern United States often supply too little light for sturdy growth. An adjustable overhead light makes that part of the setup easier to manage. 1
Start with a timer set within 12–16 hours of light a day, leaving a dark period overnight. Check the timer as well as the plants: a good fixture cannot help while it is switched off. 2
Maine Extension’s 2–4 inches above the leaves applies to its fluorescent shop-light setup. Don’t carry that measurement over to every LED. Use the fixture’s seedling instructions for height and coverage, and adjust as the plants grow. 1
Sow, then watch for the handover.
Use fresh commercial seed-starting mix in clean containers with drainage. Moisten the mix before sowing, and follow the packet’s depth instructions. Disinfect reused pots according to the disinfectant label. 2
Warmth for germination is crop-specific. For tomatoes, Minnesota recommends 75–85°F in the potting mix until emergence, then about 70°F. A seedling heat mat can help, but monitor moisture: heated mix dries faster. Those are tomato recommendations, not a thermostat setting for the whole shelf. 5
Check the tray each day. Look for shoots as well as moisture; a date on a packet cannot tell you whether this particular tray has emerged.
In Maine’s general setup, when about half the seeds have sprouted, remove the cover and bottom heat and move the tray into bright light. Reassess warmth at this stage instead of leaving every tray in germination conditions. 1
The practical change is immediate: the germination cover has finished its job for the emerged plants. Write down the emergence date and check the light position. Do not wait for the rest of a calendar week to pass.
True leaves bring a new set of checks.
The first leaves are cotyledons, or seed leaves. True leaves appear above or between them. On a tomato, look for the more divided, toothed foliage developing in the center; do not count the smooth seed leaves when instructions refer to true leaves. 8 9
If you sowed several seeds together, this distinction matters. Minnesota advises cutting surplus seedlings at mix level after true leaves develop, leaving the strongest plant; pulling them can disturb the roots you want to keep. Individual cells also avoid a tangle of roots between neighboring plants. 2
Water reaches below the surface.
A quick mist can darken the surface while the mix beneath remains dry. Check that water has reached into the container, whether you water gently from above or let the mix take it up from below. 2
Water thoroughly, then let excess water drain. Bottom watering is an option, not a fixed ten-minute recipe: check that the mix has taken up water, then empty the tray. 2 Continually standing in water can deprive roots of oxygen. 6
Keep the mix moist without making it soggy. Clean pots, fresh mix and drainage help limit damping off, a disease that can destroy young seedlings. Low light and overwatering increase the risk. A fan does not replace those basics. 3
Check the mix label before feeding. Some mixes already contain fertilizer; those may need no extra feed. Wait until several true leaves have developed before adding fertilizer, and follow a seedling-appropriate dilution rather than a universal weekly dose. 3
A bigger pot still needs a place under the light.
For a concrete cue, Johnny’s tomato instructions move seedlings on at the first true leaf. Their method starts seeds in small 200-cell trays or seed flats, then moves them to 50-cell trays or 4-inch pots, depending on expected transplant timing. That is a useful stage to watch for with this starting method; a tomato already growing in a larger pot will not need the same move. 7
Move seedlings that outgrow their cells into containers 1–2 inches wider than the cells. Support the rootball; steady a plant by a leaf, never its stem. Make room under the light for the larger pots, too. 2
For our tomato tray, potting on is a bench decision as well as a plant decision. Spread the new pots beneath the fixture and check its coverage again. A neat tray of seedlings can become a much wider group of plants; keep that space available before sowing another batch.
A CLOSER LOOK
What is the tray telling you?
Compare the clues before changing care. Start with something you can inspect; one symptom alone does not establish a diagnosis.
Long stems, leaning growth
Check light intensity, hours and fixture position. Low light is a common cause of elongated stems. Source 2
Review the light setup →A soft, narrowed stem at the mix
That can fit damping off, especially with water-soaked tissue. Affected seedlings rarely become vigorous plants. Check drainage, watering and cleanliness before starting again. Source 3
Review root care →Wilting after the first outdoor trip
Sudden sun and wind can damage indoor-grown leaves. Check the exposure and return to a gradual hardening routine; wilting alone does not identify its cause. Source 2
Review outdoor acclimation →Introduce the outdoors gradually.
Allow one to two weeks for hardening off. Begin with a few hours in a sheltered, partly shaded place, then increase time outdoors and direct sun. Check suitable temperatures for your crop; a frost-free forecast alone is not a warm-weather guarantee. 1 4
Tomatoes go into the garden after frost danger has passed and the soil has warmed. Water them before transplanting; choose a calm, cloudy period or late afternoon. Tomato stems can be planted deeper to form additional roots, but that is crop-specific advice. 5
WHEN THE PLAN CHANGES
June 1 arrives cold. The tray stays in care.
In our example, the plants have been sown and hardened, but the soil has not warmed. Keep the set-out date provisional. The earlier sowing is now a record of what happened, not a number to recalculate away. Continue checking moisture, light and pot space while waiting for suitable tomato conditions. 5
If the same tray were broccoli, the outdoor decision could differ: Illinois distinguishes frost-tolerant crops from warmth-demanding tomatoes. The tomato calendar and temperature advice do not transfer simply because both crops began indoors. 4
TAKE IT TO THE BENCH
A date window.
A place for what happens.
Use the sowing-to-transplant interval from your packet or local crop guidance. Enter a provisional outdoor date only after checking the crop’s season. The plan calculates dates; the blank observations below are yours to fill.
Your provisional dates
These dates do not establish frost safety, warm soil or plant readiness. Record actual milestones below, including any delay.
The tray record
Copy this beside your seeds or print the page. Keep the packet with the record.
- Crop / variety
- ____________________________
- Interval source / outdoor-date basis
- ____________________________
- Actually sown / first emergence
- ____________________________
- True leaves / potting-on date
- ____________________________
- Outdoor exposure / response
- ____________________________
- Actually set out / reason for delay
- ____________________________
Example entry: “May 18 — first sheltered outing, two hours; leaves stayed upright. Next outing: check warmth and wind before increasing exposure.” This is a suggested record format, not an observed trial or a fixed daily schedule.