SEASONAL CARE · TEMPERATE GARDENS
Putting the
garden to bed
Finish one food bed. Leave room for winter life.
Choose its cover with spring already in mind.
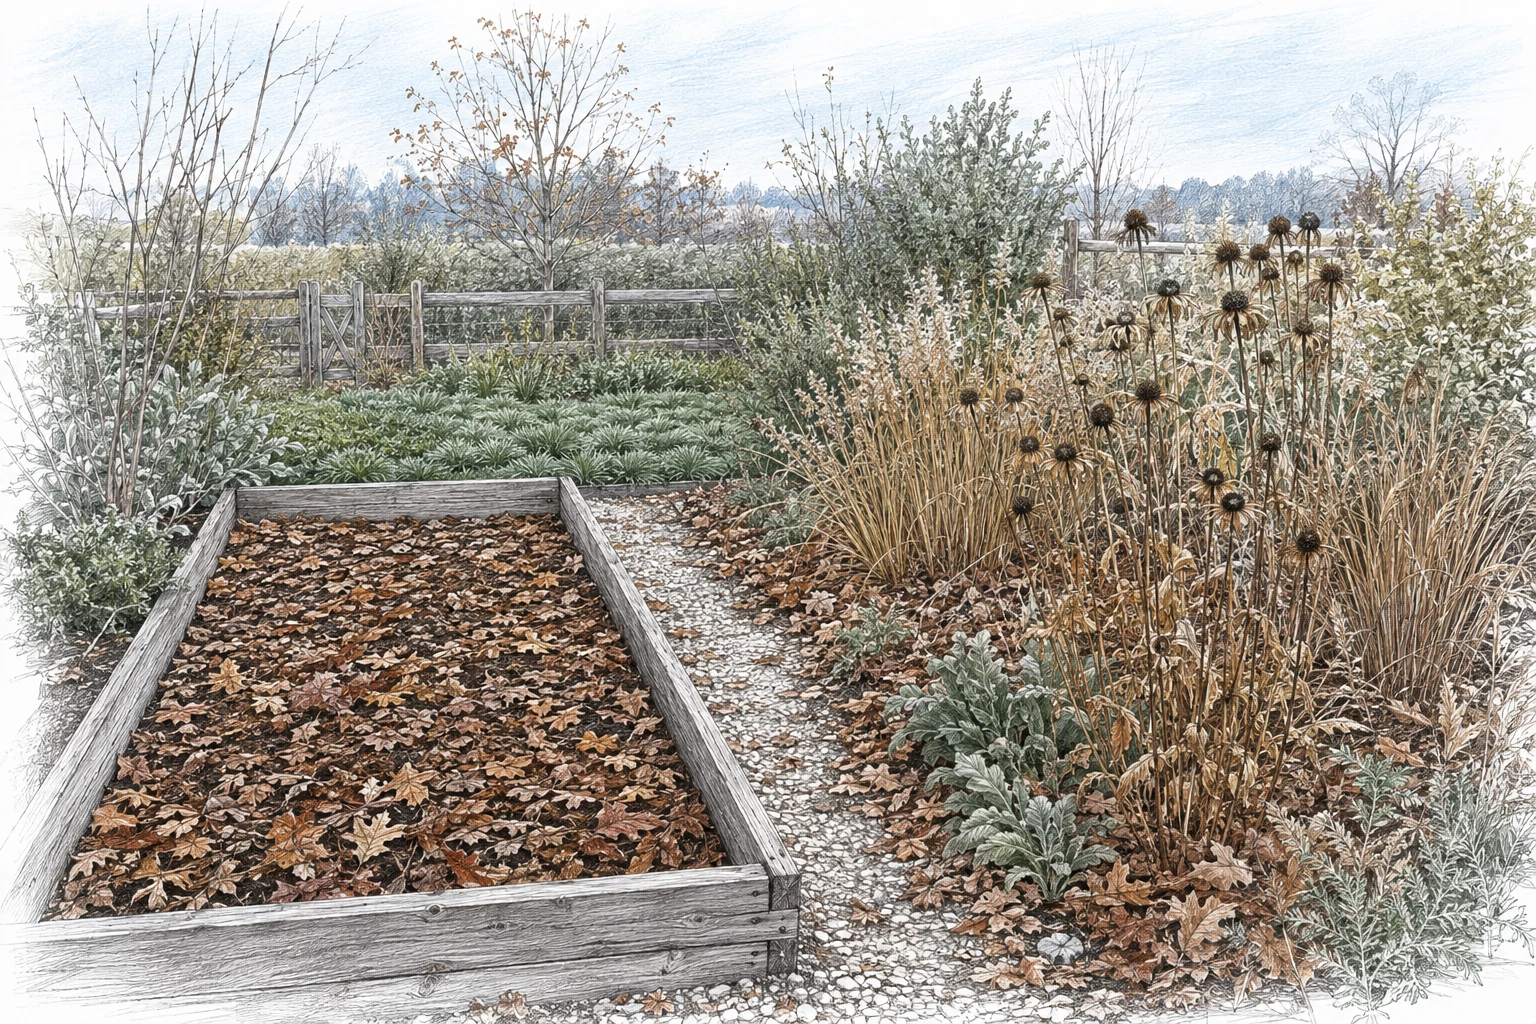
Start with one bed that has finished producing. Decide what belongs there through winter, then move on. There is no prize for making the whole garden look empty.
For a temperate garden, imagine three stops on an autumn walk: an empty bean bed, a bed still feeding you, and a flower border full of dry stems. They do not need the same treatment. The first needs a cover. The second still has a crop to care for. The third may already be doing its winter job.
We’ll follow the empty bed all the way to its next planting, using a western Oregon example. The useful question is not just “What goes on the soil?” It is “What will I have to do to plant here again?”
Finished food bed
Clear the spent crop.
Choose a winter cover.
Still producing
Keep its crop care going.
Close it when harvest ends.
Healthy habitat border
Mark the stems and leaves
you intend to leave.
What needs to go?
What earns its place?
Before clearing a bed, collect the last tender harvest. Oregon State’s educational gardening guide advises picking tomatoes and other tender vegetables before the first frost. Check the forecast for your site rather than waiting for a date on the calendar. [3]
THE FOOD BED
Clear spent annuals
Remove the remains of finished annual vegetable crops. OSU recommends this cleanup to reduce disease carryover; it is a useful default for a harvested bed. It does not mean pulling healthy crops still being grown for winter. [1]
Clean debris can go to compost. Keep diseased plants and weeds that have flowered or set seed out of an ordinary cool pile. The OSU guide allows a hot-composting exception; this article does not provide a disease-sanitizing process. [3]
THE FLOWER BORDER
Leave selected stems
Healthy dry stems, seed heads and fallen leaves can offer insects shelter and birds food through winter. Leave some standing flowers and a patch of intact leaves where they can remain undisturbed. Remove debris associated with pest or disease problems here, too. [2]
Decide which patch you want to keep before reaching for the rake. A deliberate edge can make that decision visible.
A winter cover,
with spring in mind
Protect harvested bed soil with living plants or mulch. Cover softens the impact of rain, helping limit erosion and surface crusting. [4]
LET WET SOIL WAIT
Postpone digging or tilling when soil is wet, and avoid unnecessary traffic over beds. Working wet soil can compact it. A free afternoon is not a reason to force the job. [4] [3]
ONE BED · TWO POSSIBLE AUTUMNS
Start with the crop
that comes next
These are invented garden situations. The regional guidance is real; the gardener’s priorities are selected to show how a decision changes.
BED A · WESTERN OREGON · LATE AUTUMN
The last beans are gone.
Early spring sowing is the aim.
The gardener has finished harvesting, has leaves available, and wants to direct-sow leaf lettuce here in spring. They have not chosen a cover-crop species or arranged a way to remove one. Soil is wet after rain. Their first job is to separate the finished crop from the soil-cover decision: clean crop remains go to compost; suspect diseased material is kept out of the cool pile. The healthy flower border keeps its own leaf litter.
For a bed cleared late in the west-Cascades season, mulch is a practical choice. WSU advises mulching areas still being harvested in October or November instead of sowing a cover crop too late to establish useful winter cover. This gardener uses leaves, which OSU recommends for empty vegetable beds. [5] [1]
The decision is modest: protect this bed now, and learn about cover crops in time for next autumn. There is no need to buy an unfamiliar seed mix merely because the ground is empty.
FOLLOW THE SURFACE · MULCH ROUTE
Cover
Leaves sit on the surface. No autumn digging is built into this plan.
Check
Look for exposed soil. Note what needs covering again.
Return
Move remaining mulch off the intended sowing area; check the soil before preparing it.
Mulch can also slow spring warming and make direct sowing awkward. OSU’s no-till guide advises pulling it back and raking the surface smooth for direct seeding. For transplants, its method is to open planting holes through the mulch. The next crop and planting method change how much surface you need to expose. [8]
Write the next crop on the bed note now, even if its date is still open. “Early direct sowing” makes a different demand on the surface from “plant later when the bed is ready.” Before sowing, check that crop’s local timing and seedbed instructions. Moving the leaves is one step; it is not proof that the soil or weather is ready.
Before preparing the bed, squeeze a handful of soil. OSU’s tilling guide says soil that stays in a mud ball is too wet; soil that crumbles freely is ready for that work. If it is wet, leave it and check again later. This checks workability, not whether the temperature suits your next crop. [7]
CHANGE ONE CONDITION · THE BED IS FREE EARLIER
Now there is time
to grow a cover.
Keep the same small bed and spring intention, but suppose the summer crop finishes while an appropriate local sowing window is still open. The gardener is willing to manage a living crop and turn it under. This opens another route; it does not make leaves a poor choice.
WSU identifies crimson clover as a manageable beginner option west of the Cascades because it produces less bulky material and is comparatively easy to incorporate. Start with a small area. Its regional sowing advice favors the first half of September; do not transfer that window to another climate or to a different clover. [5]
Allow for watering during establishment: OSU’s western Oregon clover guidance calls for watering the bed so the crop establishes before cold weather. Follow the chosen seed’s sowing rate and depth, then watch for an actual stand of plants. [7]
Choose the actual seed
Write down the species, local sowing instructions and how you will end it. Read every species in a mix.
Watch a living crop
Record establishment and later survival. An empty seed packet is not evidence that the bed is covered.
End it, then prepare
For this example, the planned method is turning the crop under. Check the result and residue before making the seedbed.
Turning a cover crop under with a shovel or tiller is one WSU method. Plan to do it before seed set and while the soil is workable. A later, larger crop supplies more material but can delay spring planting while that material breaks down. If early sowing is the priority, keeping the cover growing as long as possible works against the plan. [5] [4]
This is the real tradeoff: the living route asks for establishment and an exit; the leaf route asks for coverage and a clear sowing area. Choose the work you can actually do. If the proposed exit depends on borrowing equipment you may not have, settle that detail before buying seed.
TAKE THIS OUTSIDE
Leave spring
a clear note
You do not have to finish every job today. Separate what you did from what you still need to learn. This filled example follows the late-cleared bed above.
Open a blank, printable bed note ↗- Bed / last crop
- A, beside the path / beans, harvest finished
- Leaves / stays
- Spent crop removed; healthy flower-border stems and intact leaves stay outside this bed.
- Winter cover
- Fallen leaves. Check for uncovered patches after winter weather.
- Next planting / before it
- Leaf lettuce, direct-sown; local window still to check. Move remaining leaves from its sowing area; prepare only when soil is workable.
- Unresolved / next check
- When does local guidance support sowing this lettuce? Check before buying spring seed. Recheck the cover on the next garden walk.
Illustrative record, not a completed task in your garden. Copy it into your notebook or use the blank sheet; nothing is saved here.
Leave a little ready
for next year
Garlic, on a local calendar
In Oregon, OSU gives September through November as a garlic planting window. Use healthy cloves, full sun and well-drained soil. Its planting example is root side down, 2 inches deep, 2–4 inches between cloves and 10–14 inches between rows, followed by light mulch. These are Oregon instructions for garlic, not a universal schedule for onions and shallots. [6]
Test before adding amendments
A laboratory soil test can guide fertilizer and amendment choices for the crop you intend to grow. Arrange a test if you need that guidance, then use its recommendations. An empty bed does not automatically need lime, fertilizer or another layer of compost. [4]
Tools first, then a few notes
Wash and dry garden tools, sharpen appropriate blades and oil moving parts before storage. [1] For irrigation and powered equipment, use the manufacturer’s winter-storage instructions.
Keep the bed note with your seed list. When spring arrives, you should be able to tell what is under that cover and what has to happen next.
About this editorial preview
Independent AI evidence review completed September 6, 2026; no human review claimed.
For your garden
Your saved garden details
Choose a garden and bed to see your saved zone and soil details alongside the guide. Missing details stay marked as not recorded.
Enable JavaScript to connect your garden. The article and sources are available without it.